
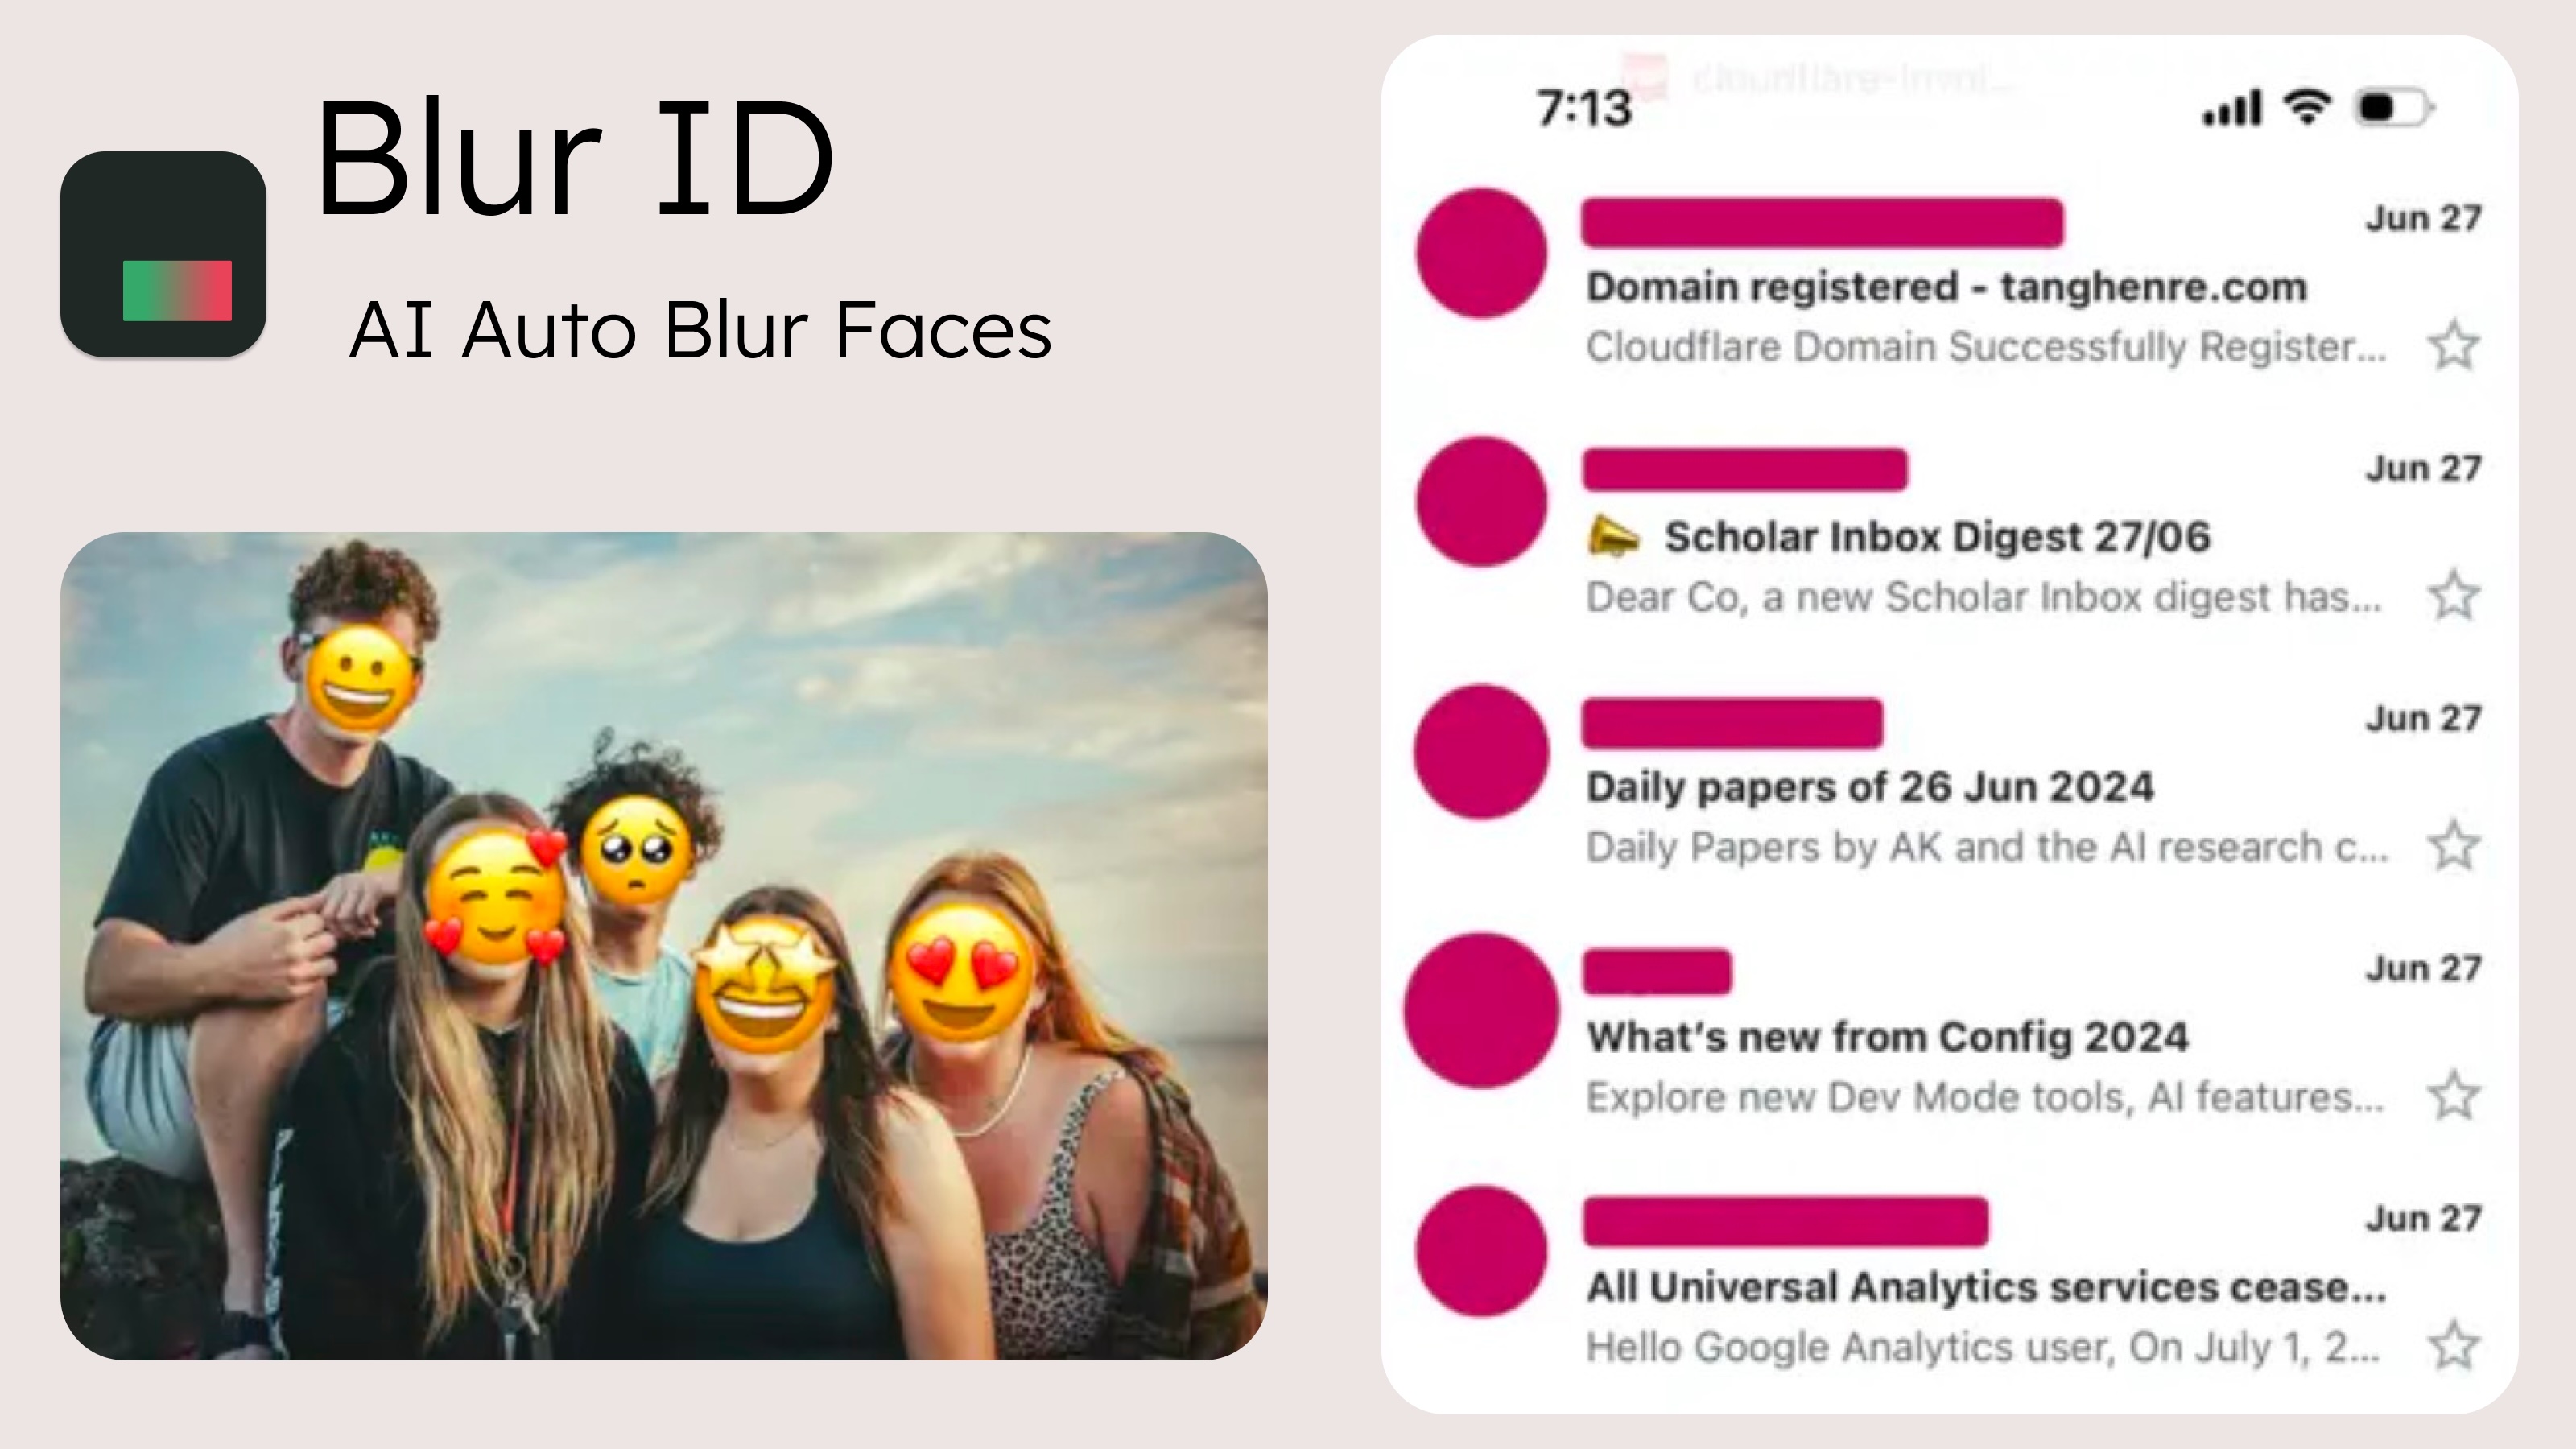
iPhone has no built-in face blur — the Photos app can't do it. Here are the four ways that actually work, from fastest to most manual, and when to use each one.
The 4 ways to blur faces on iPhone
| Method | Automatic? | Best for | Cost |
|---|---|---|---|
| Blur ID app | Yes — AI finds every face | Group photos, chat screenshots, anything with many faces | Free (watermark) / $0.99+ |
| Markup (built into iOS) | No — draw by hand | Covering one or two faces with a solid shape | Free |
| Clean Up (Apple Intelligence) | Semi — select to remove | Removing a person entirely instead of blurring | Free, iOS 18.1+ only |
| Online blur tools | Varies | One-off edits on non-sensitive images | Free |
Method 1: Blur faces automatically with Blur ID
Blur ID is an app to blur faces in photos automatically. Its AI runs entirely on your iPhone — photos are never uploaded — and it detects faces, avatars, usernames and sensitive text in one pass. This makes it the practical choice when a photo has several faces, or when you're sharing chat screenshots where tiny profile pictures are easy to miss by hand.
- Import a photo. Open Blur ID and tap the plus button to pick a photo or screenshot from your library.
- Let the AI work. Every face and piece of sensitive text is detected and blurred automatically, in about a second.
- Adjust if you like. Tap any face to un-blur it, switch the effect to pixelation or an emoji cover, or add a manual blur region the AI missed.
- Export. Save the protected image back to your library. The free version adds a small watermark; premium ($0.99/month, $4.99/year or $7.99 lifetime) removes it.
Because processing is 100% on-device, Blur ID also works in airplane mode — nothing about your image ever leaves the phone.
Method 2: Cover faces manually with Markup (free, built-in)
iOS ships with Markup, which can't blur but can cover:
- Open the photo in the Photos app and tap Edit.
- Tap the Markup pen icon.
- Choose a shape or the pen tool, set opacity to 100%, and draw a solid block over each face.
- Tap Done to save.
This works fine for one or two faces. The downsides: it's manual, it looks like censorship rather than a natural edit, semi-transparent ink can leak what's underneath if you don't set full opacity, and it's easy to miss small faces or reflections in a busy screenshot.
Method 3: Remove people with Apple's Clean Up
On iPhones that support Apple Intelligence (iPhone 15 Pro and newer, iOS 18.1+), the Photos app includes Clean Up, which removes a selected person or object and fills in the background. It doesn't blur — it erases. That's sometimes better (no censor bars at all) and sometimes worse (the person is gone from the scene, and generative fill can look odd on complex backgrounds).
Method 4: Online face blur tools
Web-based blur tools work in a pinch, but read the fine print: many upload your image to a server for processing. For a photo you're blurring precisely because it's sensitive, that's a real trade-off. If you use one, prefer tools that state processing happens locally in your browser — and avoid them entirely for IDs, financial screenshots, or children's photos.
Safety tips when blurring photos
- Use strong redaction for text. Researchers have reconstructed lightly-blurred or pixelated text. For usernames, addresses or numbers, use a solid cover or Blur ID's immersive redaction rather than a light blur.
- Check the whole image. Reflections, mirrors, name tags and notification banners leak identities too.
- Strip location data. When sharing from the Photos app, tap Options at the top of the share sheet and turn off Location.
- Export, don't edit-in-place. A separate exported copy (as Blur ID produces) can't be "reverted" the way an edited original in Photos can.